The HOT Export tool is a tool created by Humanitarian OpenStreetMap Team (HOT) that allows you to create custom OpenStreetMap (OSM) exports, you can download up-to-date maps for GIS analysis or use in GPS devices and/or smartphones. The OSM data available from the tool is updated at one minute intervals so very accurate and a number of file formats are available for exporting data in, including Esri SHP, Garmin IMG, Google KMZ, OSM PBF and SQlite SQL. Some of the features include the ability to:
- create customized maps with tags and markers
- translate maps into different languages
- upload, update and utilize existing data files created by others with the Visual Tag Chooser application to help customize your map
- convert OSM maps into other mapping programs using the structured query language (SQL) option
- save and access your customized maps for later use by creating a personalized account
Exporting a map using HOT Export Tool

HOT Export Tool homepage: http://export.hotosm.org/en/
To use the Export Tool, you must first have an OpenStreetMap user account. Log in to OpenStreetMap, or if you don’t have an account you will be prompted to create one. You will be asked to grant access and approve your account by verifying your email address.
Creating an export
On the left hand side of the screen, give the export a ‘Name’, ‘Description’, and name the ‘Project’ to reference your export, this will help you and others know what is included in the export.
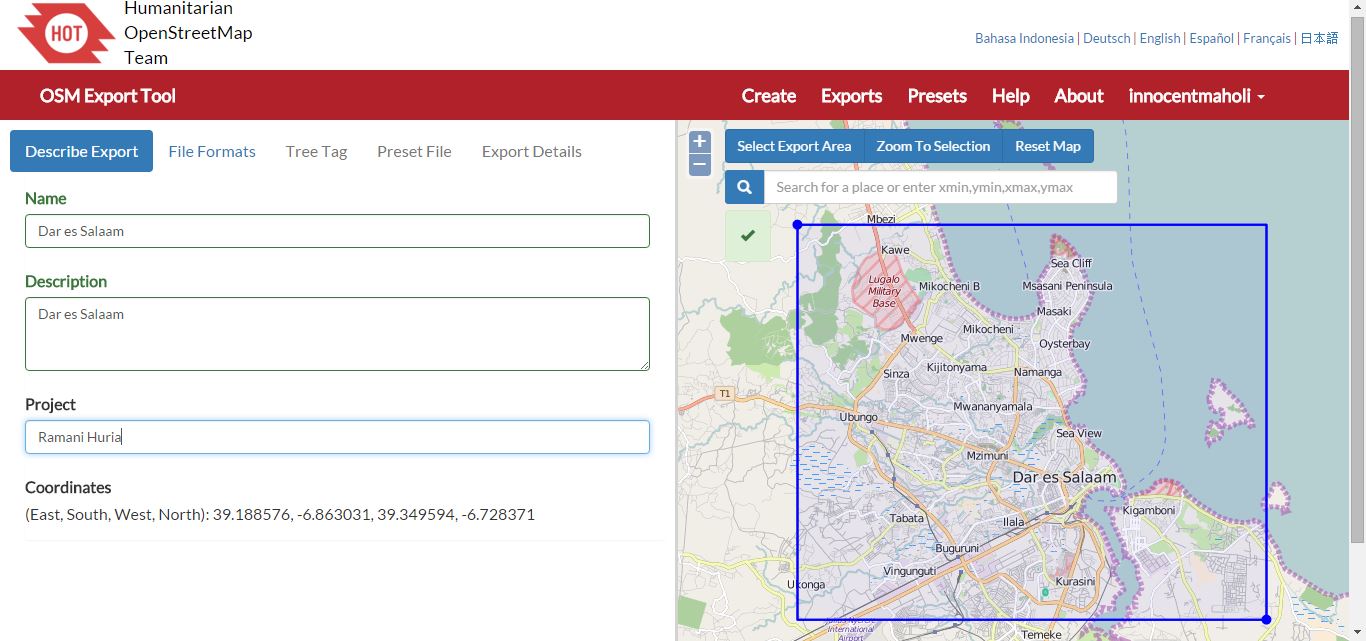
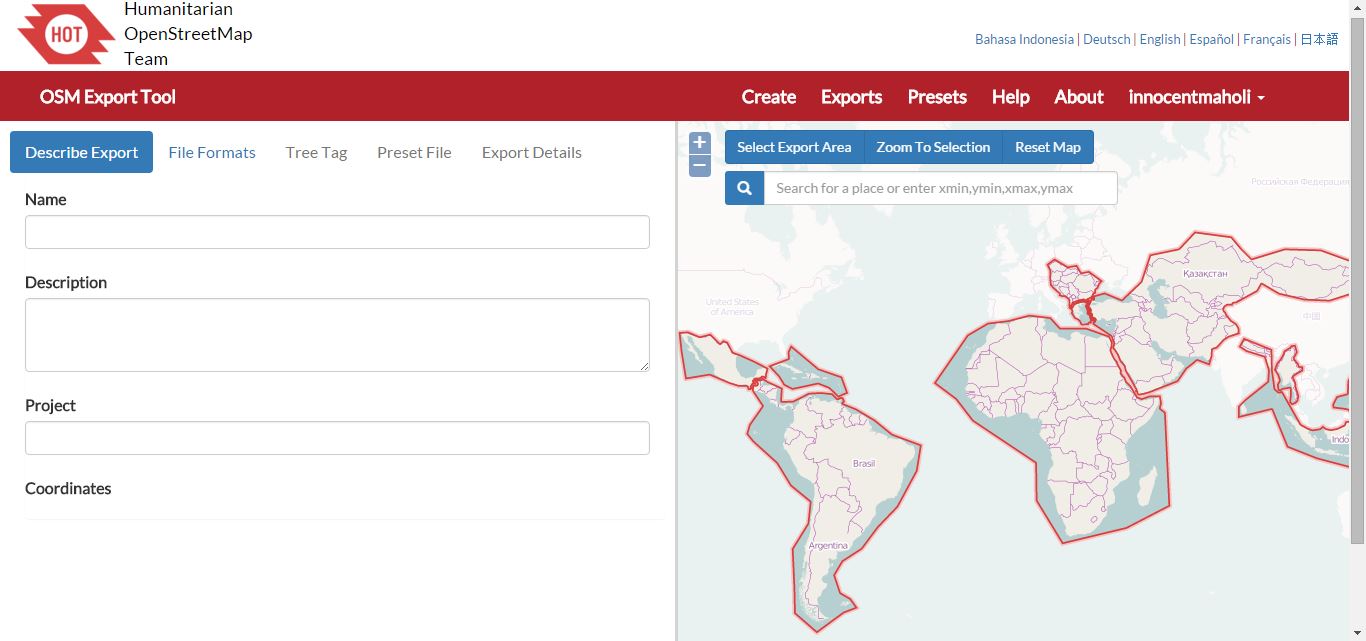
Describing your export and selecting your export area
On the right hand side of the screen, select the export area. You will initially see a world map which you can zoom in (+) or out (-) of. Click the ‘Select Export Area’ button and select the area you want by clicking and holding down the mouse button – creating an area that covers your area or interest. You can adjust the size of the area by dragging the top-left or bottom-right corners of the box and you can move the entire box by holding down the mouse button and dragging.
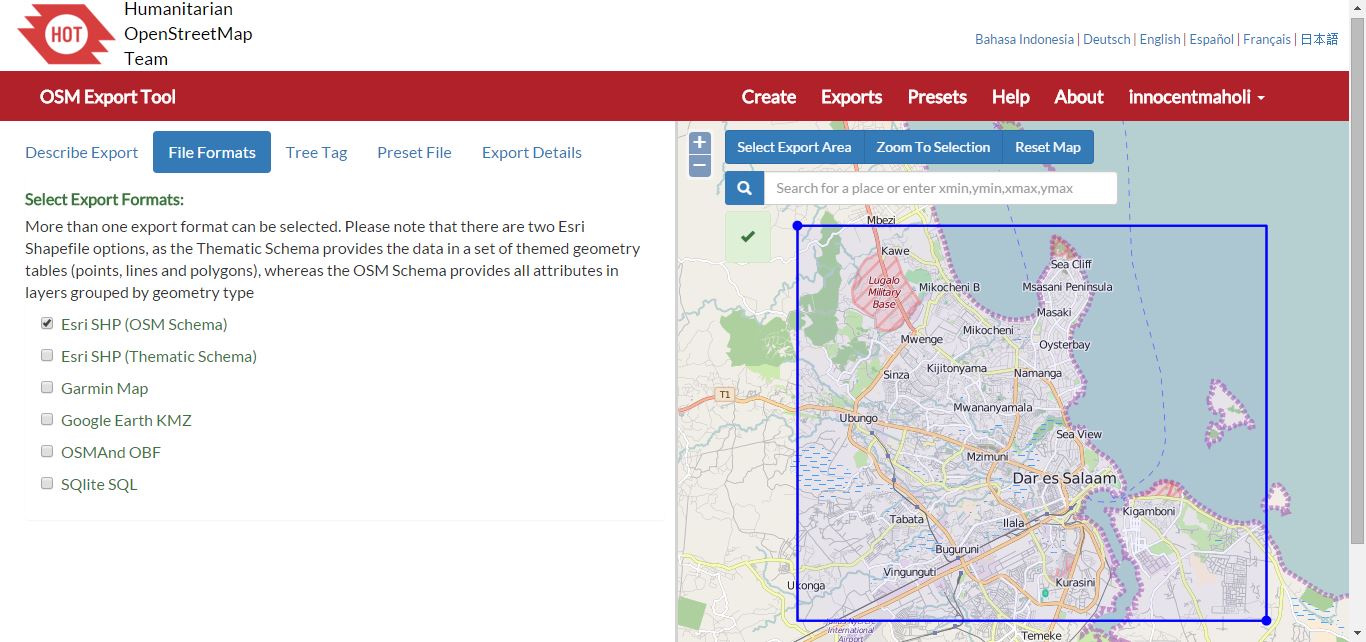
Selecting export formats
Once you have selected your area to export, and lablled as needed, click ‘File Formats’. You are then provided with a variety of file formats to export to including: Esri SHP (OSM Schema), Esri SHP (Thematic Schema), Garmin Map, Google Earth KMZ, OSMAnd OBF, and SQLite SQL (for more information on these formats see HOT Export Tool: File Formats). You can select more than one option when exporting. Ramani Huria primarily uses the tool to create shapefiles, so in this example, select Esri SHP (OSM Schema) to get shapefiles in OSM format.
Tree Tag options
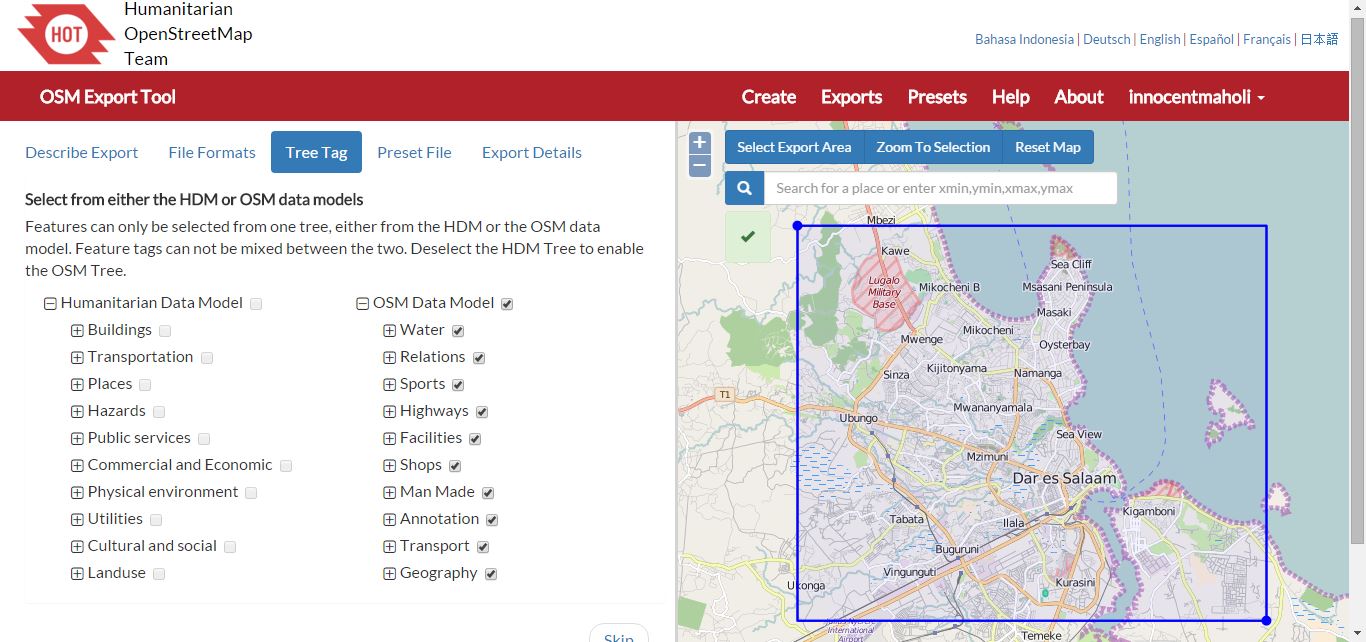
The next section ‘Tree Tag’ allows you to choose features to be included in the export. You can select features from either Humanitarian Data Model (HDM) or OSM data model. You can only select from one tree i.e. one model, and feature tags cannot be mixed between the two. For this example, deselect the HDM tree and enable the OSM tree, all features will be automatically selected.
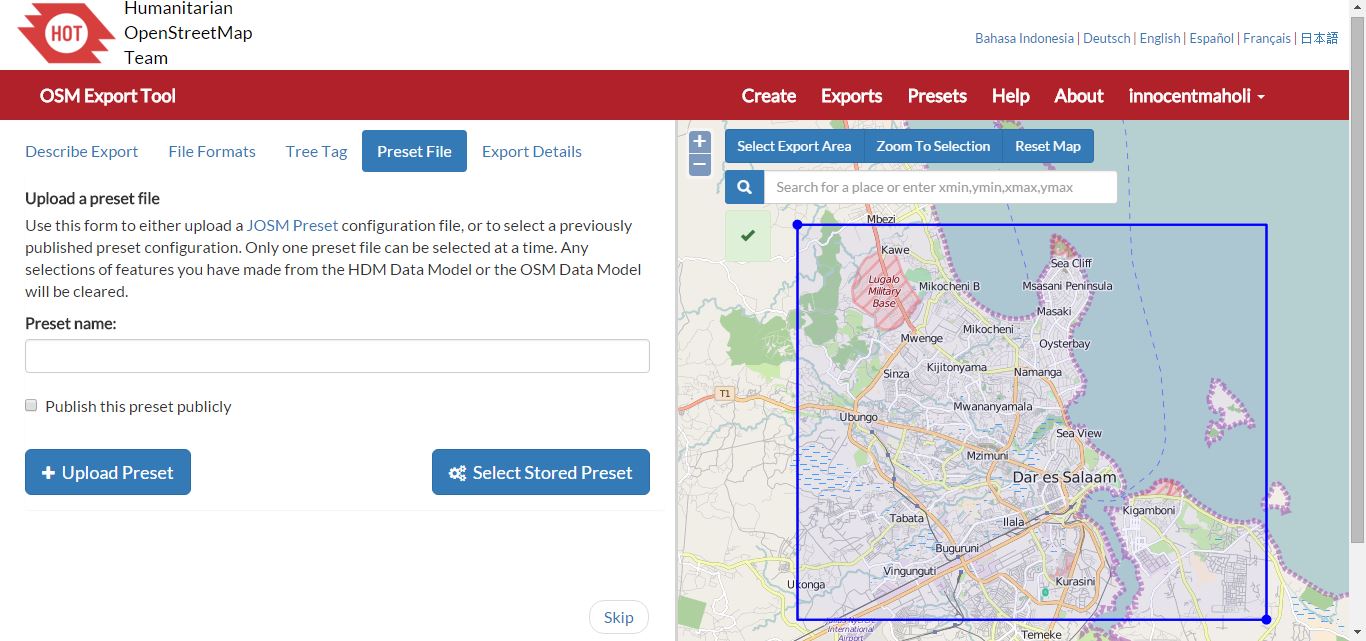
Uploading a preset file or selecting a stored preset
The next tab, ‘Preset File’ allows you to upload a JOSM Preset configuration file or select a stored preset. Using presets are particularly helpful if you are creating more than one export. By adding a preset file, any features selected from the HDM or OSM Data Model will be cleared. Ramani Huria uses a preset, which is freely available for anyone to download from our GitHub account. To try using the Ramani Huria preset as your preset, download and unzip the file ‘Dar es Salaam.zip’ and located the file ‘RamaniHuria.xml’. You must give the preset a name, then click ‘Upload Preset’ and locate the file.
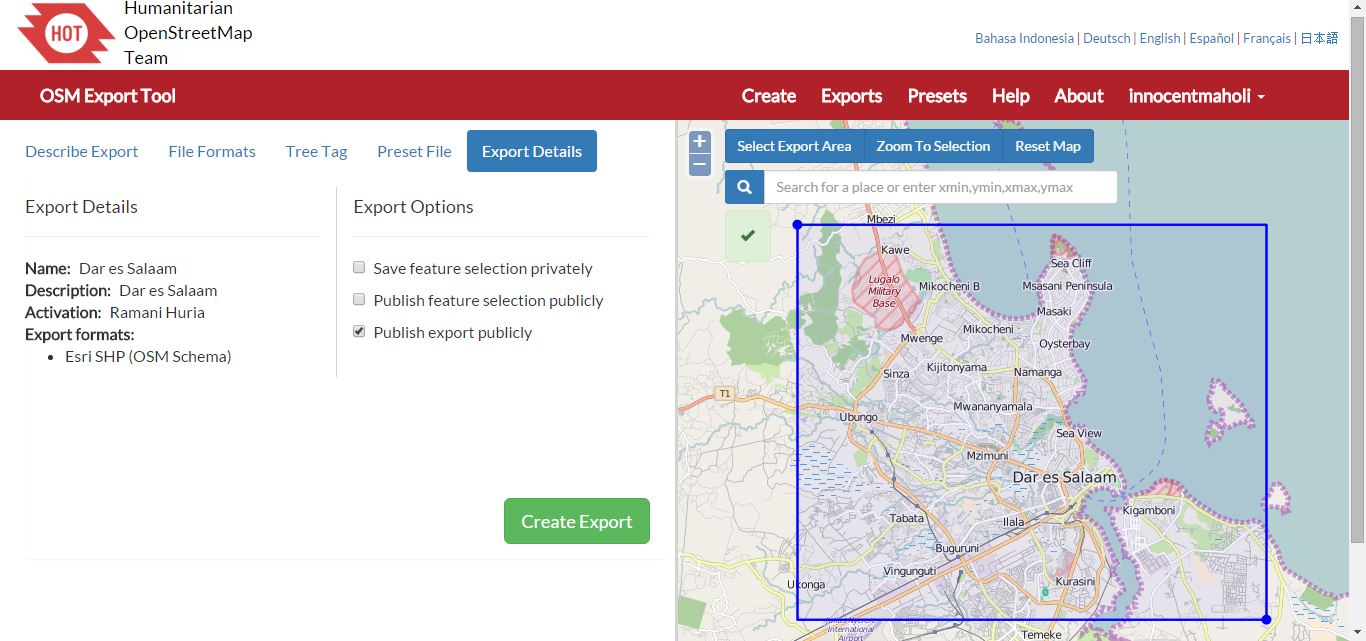
Export details
The last tab, ‘Export Details’ allows you to see additional information about the export. You can go back and make any required changes, for example add a file format to export. Depending on your export settings you may have the options to: ‘Save feature selection privately’, ‘Public feature selection publicly’ and/or ‘Publish export publically’.
When you have finalised your selections click ‘Create Export’.
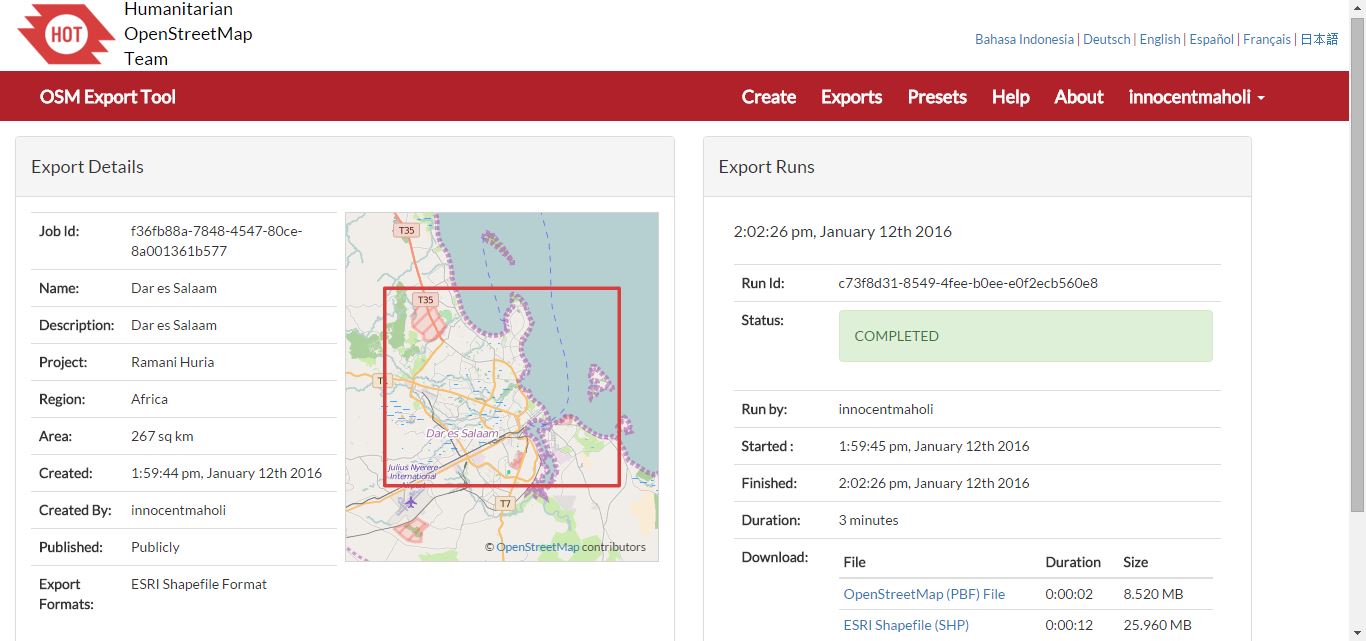
Creating your export – Export details & export runs
The next screen will show details of your export on the left hand side and status of the export on the right hand side. You may need to wait a moment for the status to read ‘completed’ before you can download your files. You will also receive an email from HOT Export Tool with a link to download the files.
Downloading your exports
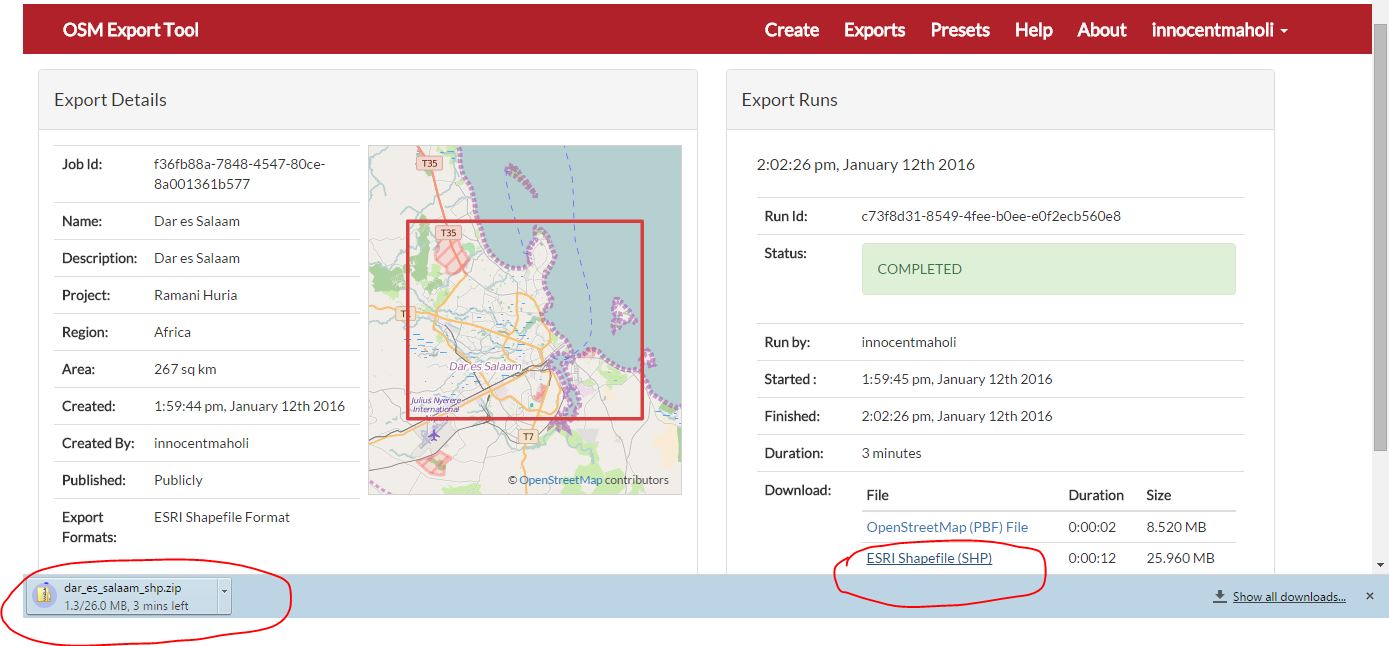
The export files (of the file types you requested) will be listed in the download box. Click on the file names to download directly onto your computer.
To use your exports, unzip the files and load your shapefiles to your mapping software, such as QGIS.
You can see any exports or presets other users have made publically available under the ‘Exports’ and ‘Presets’ menu options.
If you need additional assistance using the HOT Export Tool, take a look at the help section (found in the menu bar) or come along to a Maptime Tanzania events and one of the Ramani Huria team will be happy to help you!